As promised, my pigment pressing method…
It’s a mammoth tutorial and rather picture heavy, so please click ‘read more’ to continue on the pigment pressing adventure!
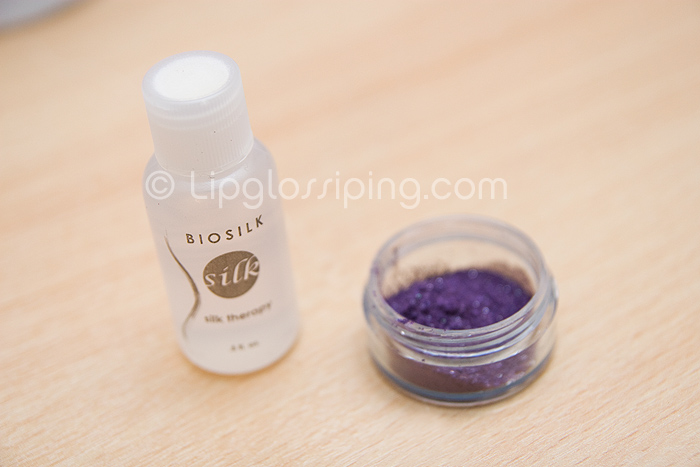
The cast of characters:
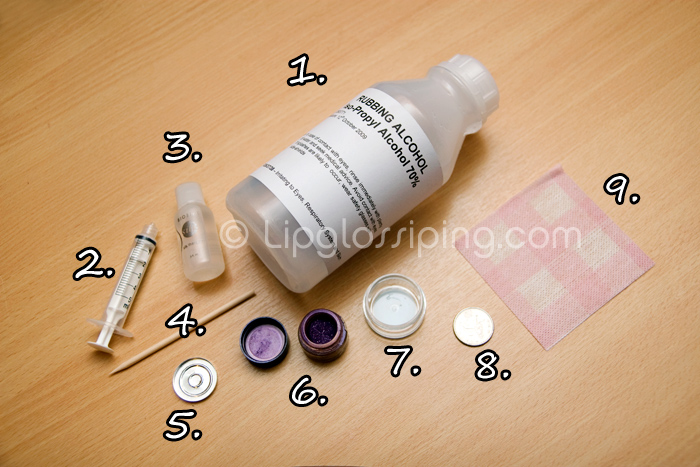
I’ve provided links of where you might purchase supplies, feel free to shop around – the links are there as a convenience only!
1. Minimum 70% Rubbing Alcohol (also known as surgical spirit or iso-propyl alcohol)
2. 5ml Syringe
3. Biosilk Silk Therapy (the link I provided is a VERY good price for Biosilk, I paid more than this)
4. Orange Stick or any suitable mixing tool you have to hand
5. Empty Palette or Pans (Those 26mm pans will fit in an ELF empty palette although may not be magnetized – easily fixed with a self-adhesive magnetic sheet though)
6. BarryM Dazzle Dust or pigment of your choice (Not MAC)
7. Suitable mixing container
8. 10 pence piece (I think the US size equivalent is a quarter?)
9. Textured material/kitchen roll
A BarryM Dazzle Dust (a very old one!)…
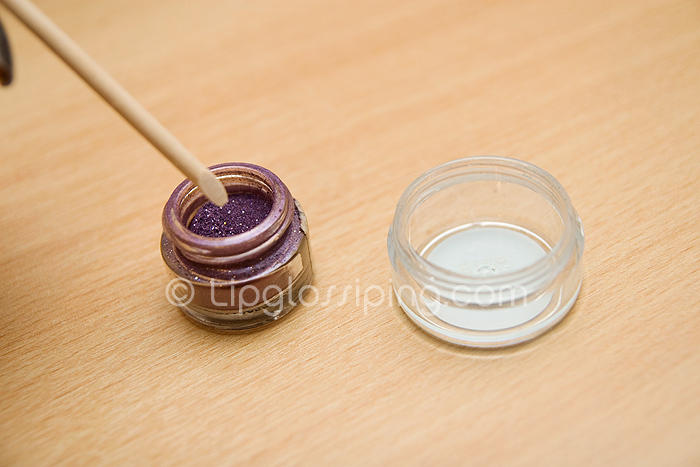
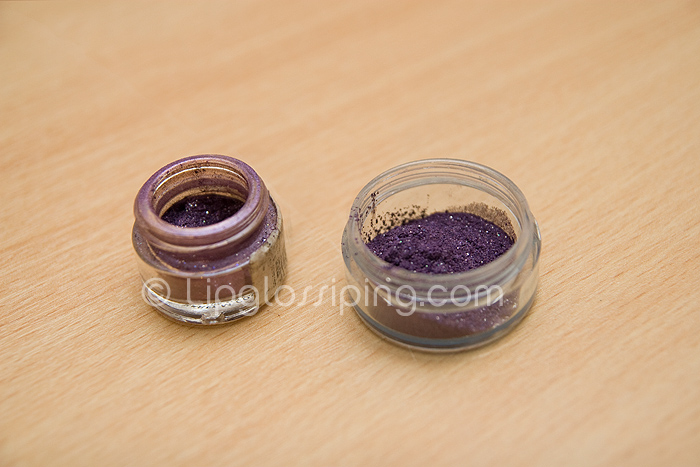
It generally takes about a third of a Dazzle Dust to fill a pan… to be honest, I don’t measure – I go by eye. It’s also why I personally use 70% isopropyl alcohol. 70% dries a little slower than 99% alcohol and gives me time to mix up some more shadow if I don’t have enough product.
Enough for 1 pan…
Biosilk…
Biosilk Silk Therapy is the product that’s going to bind the loose shadow and hold it together. With MAC pigments, you can omit this step as they contain a filler that helps the loose shadow stick to your eyelids (and to each other!). Pure pigments and Dazzle Dusts don’t contain this same filler and thus, we need to add some. It may be worth doing a patch test on the inside of your arm with the Biosilk first to make sure your skin isn’t going to have any issues with it (it’s a silicone based product).
Adding the Biosilk (1ml)…
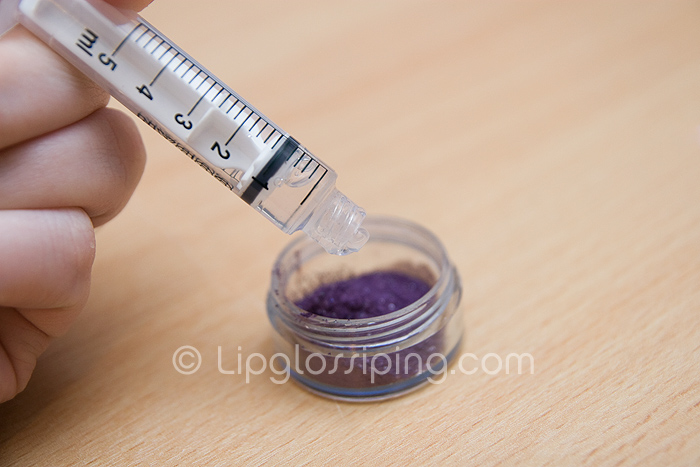
In this situation, I used 1ml of Biosilk. The quantity isn’t as important as the ratio between the Biosilk and the Isopropyl Alcohol. The ratio I work with is roughly 3 parts Alcohol to 5 parts Biosilk.
The alcohol…
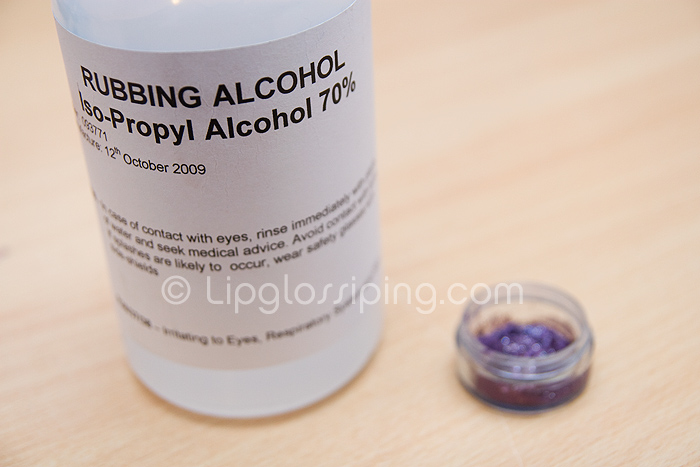
Next, I add the Alcohol (0.6ml)…
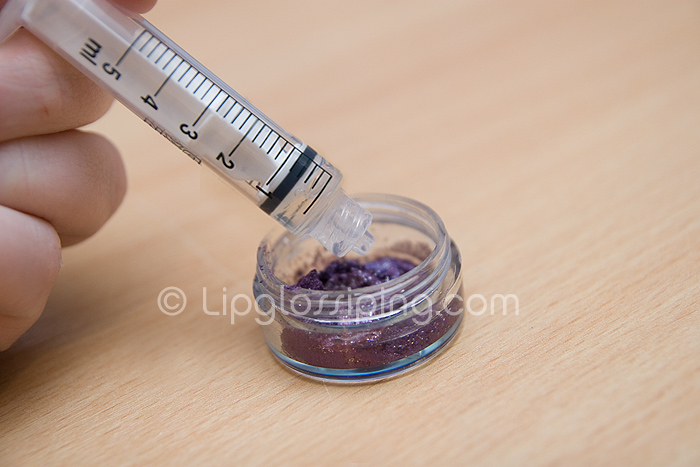
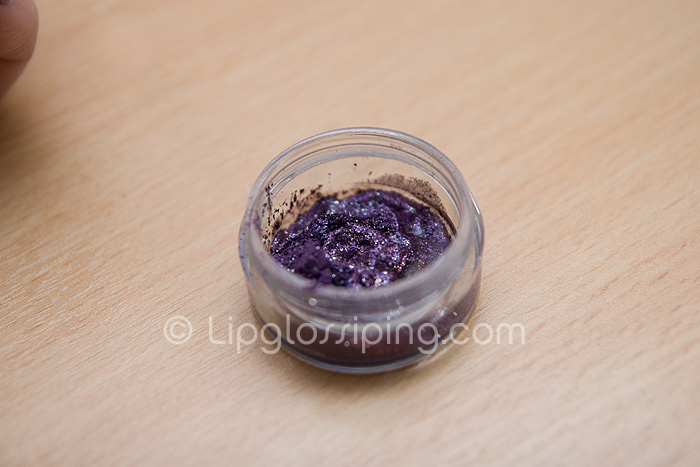
All liquids have now been added…
Take your orange stick and mix!
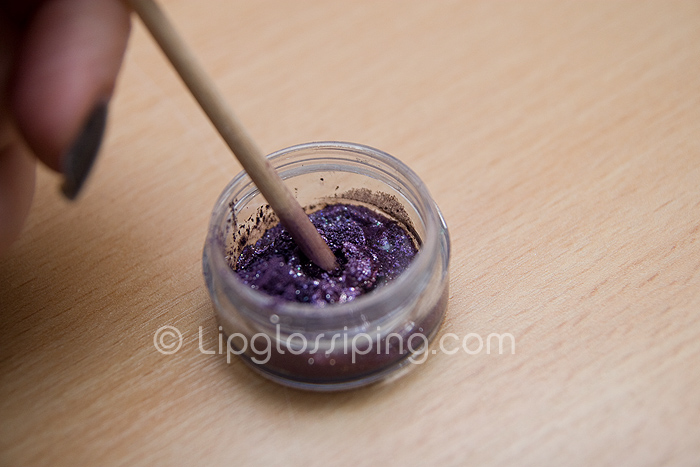
Keep going! It’s really important to coat all particles of the pigment with the solution.
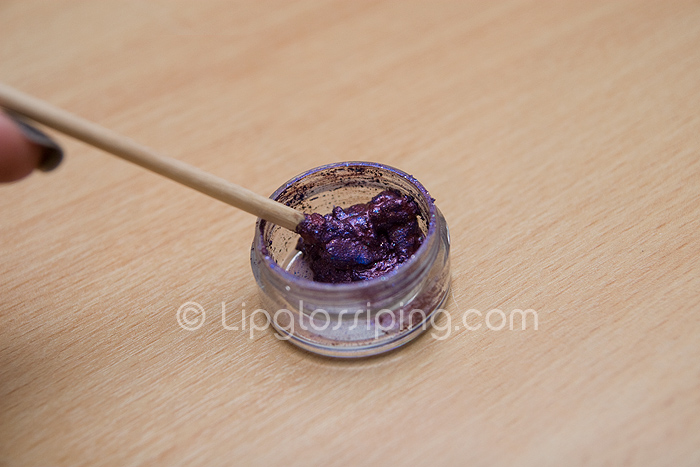
I prefer the mixture to be a little wet (but not runny). I find I have less wastage of the product if it’s not too dry, as it seems to scoop out of the mixing container a little easier than if it’s still crumbly.
Take your empty pan…
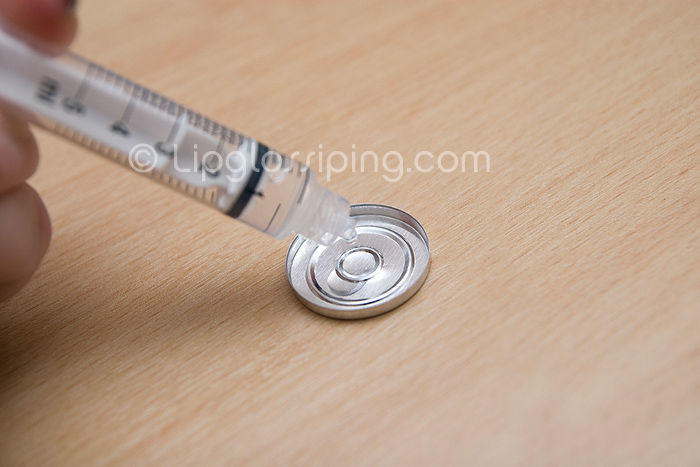
…and drop a few drops of alcohol into it. Not sure why you need to do this, but most people recommend it.
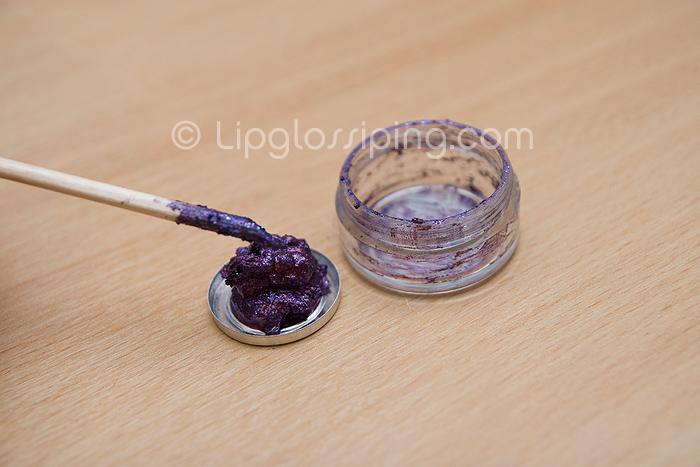
Scoop your mixture into the pan and begin to press down with the orange stick, coaxing the pigment to fill the pan. Ensure that you’re not encouraging air bubbles into the mixture. You could lift the pan a few inches off the work surface and drop it a couple of times to force out any air bubbles.
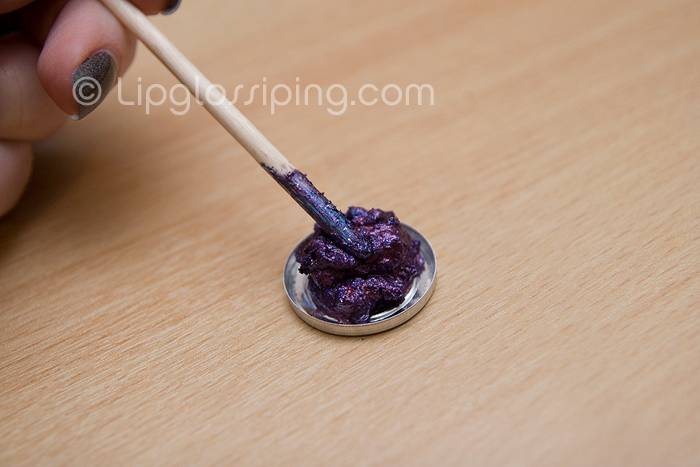
Et voila!
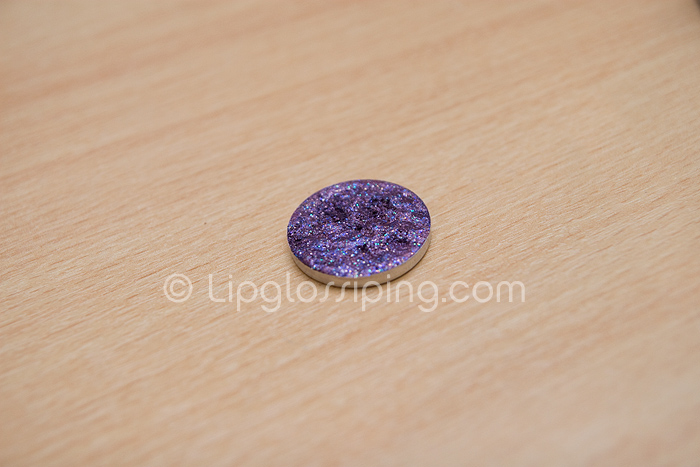
Once the pan is evenly filled (and so long as the mixture isn’t too runny) you can place a piece of material/tissue/kitchen roll over the top and press gently with your finger. Don’t soak up too much of the solution – you’re not doing it to dry the pigment out, just to make sure that you haven’t left any spaces in the pan. If your mixture is wetter than the above image, leave it for half an hour before doing the aforementioned step.
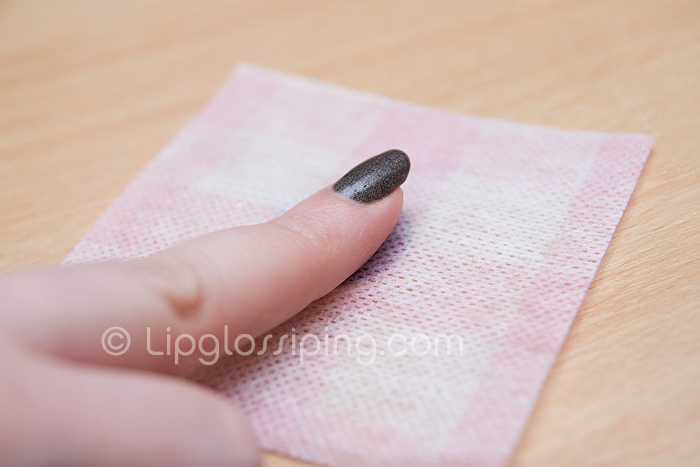
…at this stage, it should look something like this:
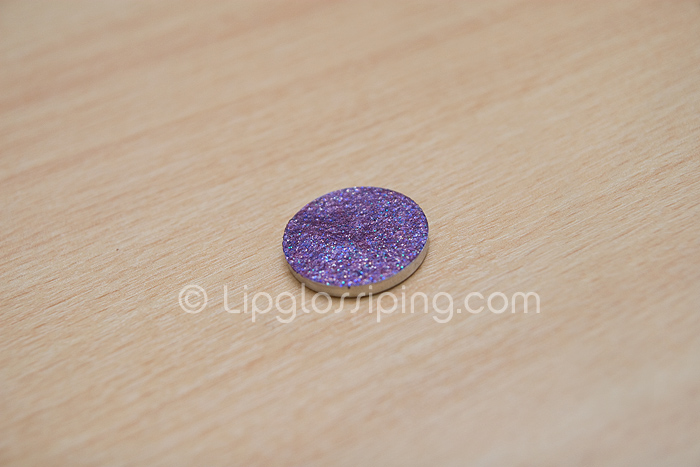
Now I set it aside to dry a little. It generally takes about 1-2 hours before it’s ready for pressing. To make sure, touch the surface lightly, it should feel slightly powdery and dry to the touch. If it still feels wet, leave it a little longer.
Here is an example of a pigment before and after this initial drying period, note that it’s a wetter mix than the BarryM Dazzle Dust, so needed a good 2 hours to dry out enough for pressing:
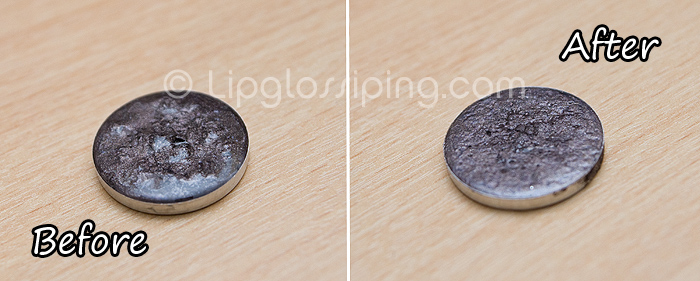
When it’s ready…
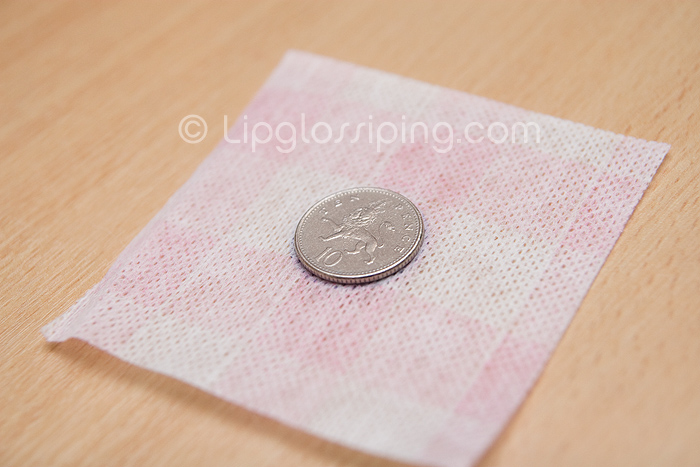
…take your material/tissue/kitchen roll and place it over the pan. Ontop of this, position your 10p piece so that it’s directly over the pan.
And press…
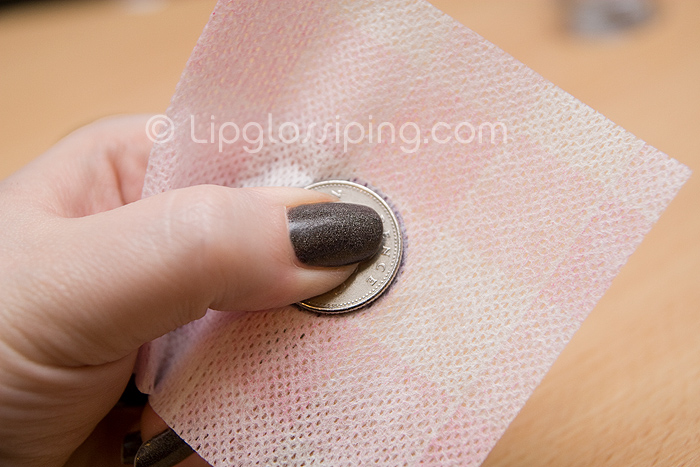
I generally use 2 thumbs, but that’s not easy to do at the same time as taking a photo! Press as hard as you can. If you get residue squishing out the sides of the pan, then you’re pressing a little too early and need to leave it to dry out a bit more. At this stage, you could leave it overnight with some heavy books ontop if you wish… just to ensure you get a great press.
And this is what the finished pan should look like…
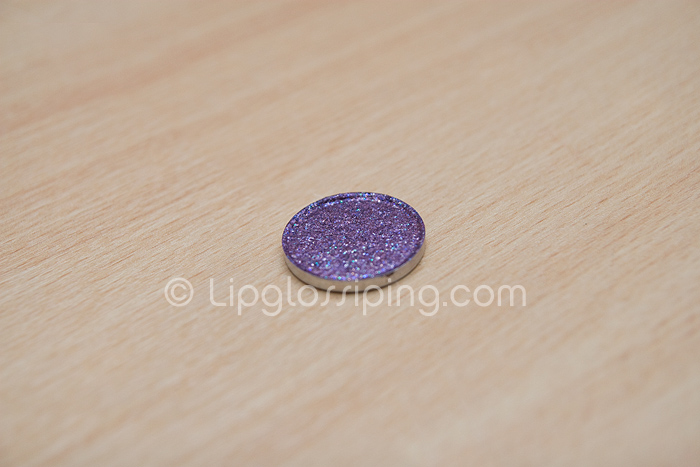
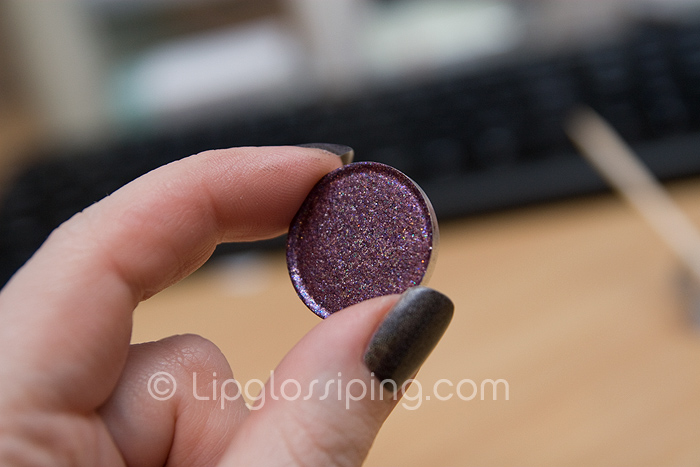
At this stage, I walk away and leave my pressed pigments on the window sill for a day or two until they are completely dried out and ready to use.
The BarryM pressed Dazzle Dust swatch…
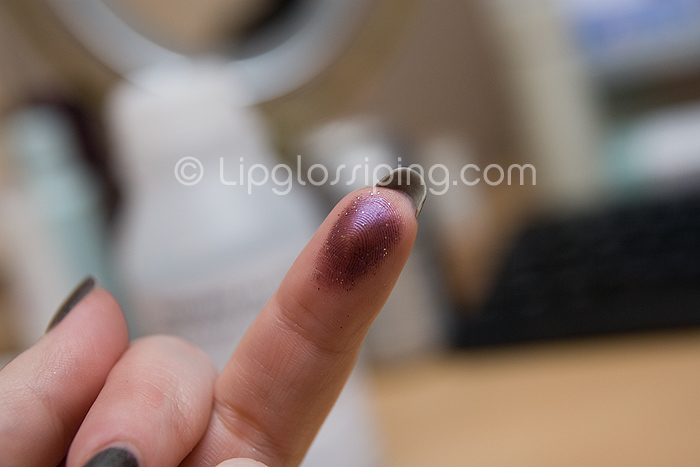
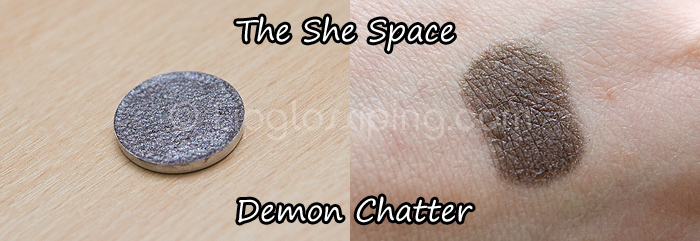
…and the She Space pigment swatch…
My pigment pressing observations:
The more Biosilk I use, the less pigmented I find my finished presses. If I use too much alcohol, then my presses don’t hold together for longer than a couple of days – when I pass my brush over the top, I get flaking and lots of fall out. It’s not an exact science, and something that I’m still playing with. So far, the 3:5 ratio is working well for me, but do comment and let me know if you think you’ve discovered a better one!
I hope this is useful to some of you, it’s certainly encouraged me to use those loose pigments a lot more.
Let me know what you think!




Very very interesting. I wonder, would it work with a non-silicone mixing medium (for those who find silicone doesn’t agree with their skin)?
Great tutorial, thanks! I’ve never tried pressing pigments before, maybe I’ll give it a go.
Excellent post! you did a great job in explaining each and every step of pigment pressing, a post definitely worth bookmarking! xoxo
Wow, this is great, thanks! I might try my hand at it, I have 20+ Mac pigments, some Barry M and GOSH ones too, that I hadrly ever use.
Ooooh, I’m scared to do it now in case I muck it up! It looks very fiddley… should I just stick with loose Dazzle Dusts? Dunno.
Great tutorial! I think when I have some spare time, I’ll give this a shot!
Thank you sooo much for this. I tried pressing my BarryM pigments and it was a disaster!!!!
I’ll save tons of space with this now!
Ahhh I need Biosilk. A blue dazzle dust exploded all over my ‘blue/green’ e/s palette when I attempted to press it. I was covered in the shit by the time I’d managed to clean it up!
Oh and you drop alky in the pan before adding the mixture to sterilise it first.
the penultimate picture: how rude little madam you are: up yours too lol 😛 only kidding. Fab tutorial which exceeded my fussy expectations. The pictures are fabulous and I would prefer anyday, a picture tutorial rather than a youtube video to watch. Very inspirational. Every step is shown, language you used is right down my alley, and and and and and and and and and and you even gave us suggestions on where to get the supplies which is a great starting point. This ‘d better featured in the beauty blog love link thingy or I’ll throw the towel! (sp?) 😀
Just a question cos I am fussy like that: imagining you did not press all the contents of that particular jar you used, and that you have a little bit of original loose product left, how would you compare the two now on application? Does the pressed shadow feel a little bit gritty or dry, or is it just like I imagine in my dreams: just pure concentrate of pigment goodness without the messiness and flying about / falling out everywhere.
yay, i am happy, woop x
Thank you so much for this! I shall have to hunt down a non silicone based mixing medium though.
awesome tutorial! gotta try it out sometime thanks!
Oooooh I’ve always wondered about doing this. Fantastic guide, thanks.
Oh and my Pin Up Pout – Shout Out is up.
E x
I really want to press my pigments because i’m clumsy and just get on better with pressed shadows, but i’m worried they might turn out less pigmented. Great guide!
Oh wow! I think you should do a video tutorial. It’d be fascinating just to watch the entire process unfold. Unfortunately I am too lazy to press my eyeshadows. Your photos are great and the finished result is very impressive.
By the way, clever middle finger shot!
what a great great GREAT idea for loose pigments, i have a bunch just layin around, collection dust. Also, wonderful tutorial with of course (not to my surprise) beatifully detailed photos.
Thank you
Oh wow, I never thought of using something like Biosilk to help press pigments! :O I just figured that I’d use alcohol for regular pigments and a mineral pressing medium for mineral ones.
[…] Ever wondered how to press those pesky loose minerals? Wonder no more… Lipglossiping has the answer! […]
[…] Pressing a BarryM Dazzle Dust (and other pigments) | Lipglossiping […]
[…] Ever wondered how to press those pesky loose minerals? Wonder no more… Lipglossiping has the answer! Lisamarie from Beauty Crazed enlists some Chanel to fight her dehydrated skin! *** Retrodiva […]
[…] Ever wondered how to press those pesky loose minerals? Wonder no more… Lipglossiping has the answer! […]
[…] ~ Ever wondered how to press those pesky loose minerals? Wonder no more… Lipglossiping has the answer! […]
[…] Pressing a BarryM Dazzle Dust (and other pigments) | Lipglossiping […]
[…] Ever wondered how to press those pesky loose minerals? Wonder no more… Lipglossiping has the answer! […]
why never use mac?
z
[…] Ever wondered how to press those pesky loose minerals? Wonder no more… Lipglossiping has the answer! Lisamarie from Beauty Crazed enlists some Chanel to fight her dehydrated skin! *** Retrodiva […]
@simpleelegance – because this tutorial is for loose eyeshadows that don’t contain the fillers that help the product stick to your eyelids.
You can of course press MAC pigments, but if you do… don’t use the biosilk. Just alcohol xxx
[…] Pressing a BarryM Dazzle Dust (and other pigments) | Lipglossiping […]
Wow! You’re clever!!!
[…] Ever wondered how to press those pesky loose minerals? Wonder no more… Lipglossiping has the answer! Lisamarie from Beauty Crazed enlists some Chanel to fight her dehydrated skin! *** Retrodiva […]
[…] Pressing a BarryM Dazzle Dust (and other pigments) | Lipglossiping […]
[…] wondered how to press those pesky loose minerals? Wonder no more… Lipglossiping has the answer! Lisamarie from Beauty Crazed enlists some Chanel to fight her dehydrated skin! *** Retrodiva is […]
wow, this is incredible. I’m so gonna use this if I decide to put my dusts into pans 🙂
I bought a 17 shadow yesterday and it is crumbled, I am seriously contemplating doing this but I feel it’s too hard 🙁
BUT!! When my eye is better I think I may even attempt it.
You mean I get to play mad scientist with my make-up?! Loving this idea!!
I have some W7 pigments and an Urban Decay loose eyeshadow that I want to press but I don’t know whether I need Biosilk or not? How do you know which ingredients are fillers?
You could always try pressing it without adding anything… if it begins to crumble then you’ll know you need something like Biosilk to hold it together x
Do the Urban Decay loose pigments need the biosilk added or are they find with out it?
Sorry, I don’t know
brilliant tutorial Id love to try this. I’ve loads of Everyday Minerals powder shadows & Fyrinnae shadows and they are not getting used,simply because I’ve got them stored in a box,and it would be much easier to grab a palette of them pressed.
Do you think It would work the same with,the everyday minerals & Fyrrinae. I’m on a very limited budget as I’ve not got a job at the moment,any idea where I could get the pans/palettes and supplies needed really cheaply.?
Thanks 🙂