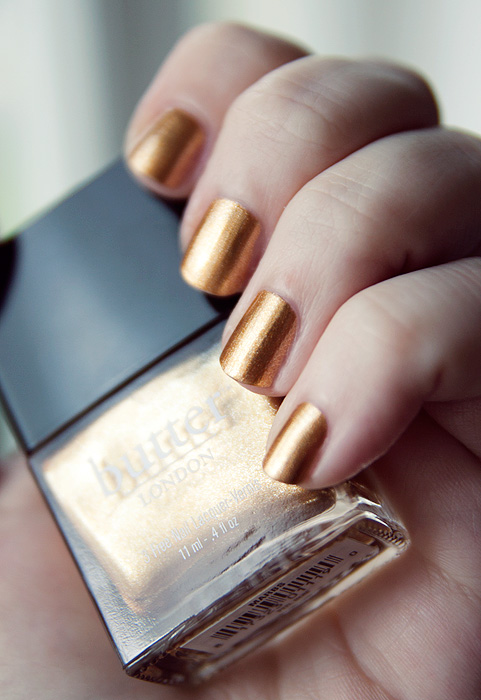
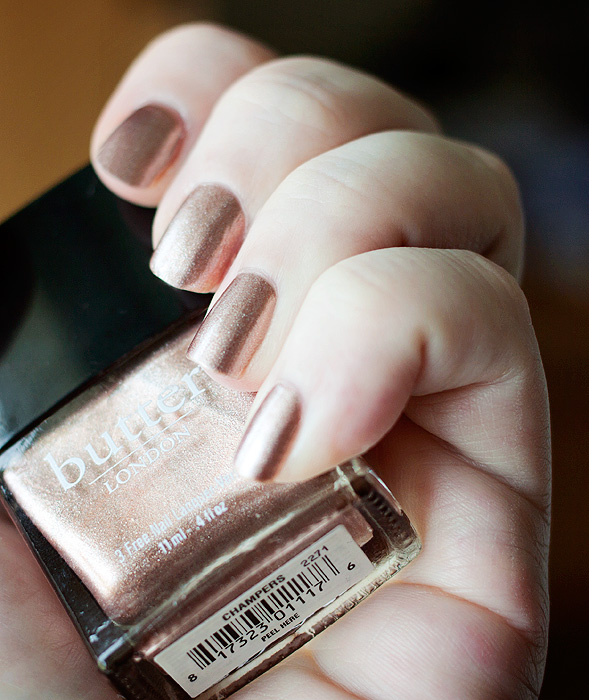
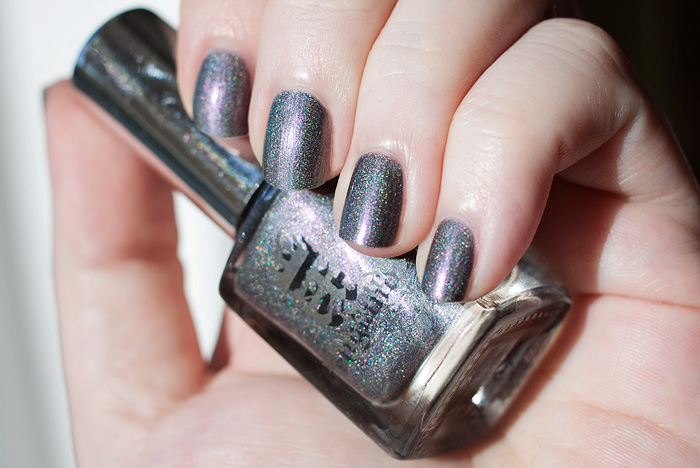
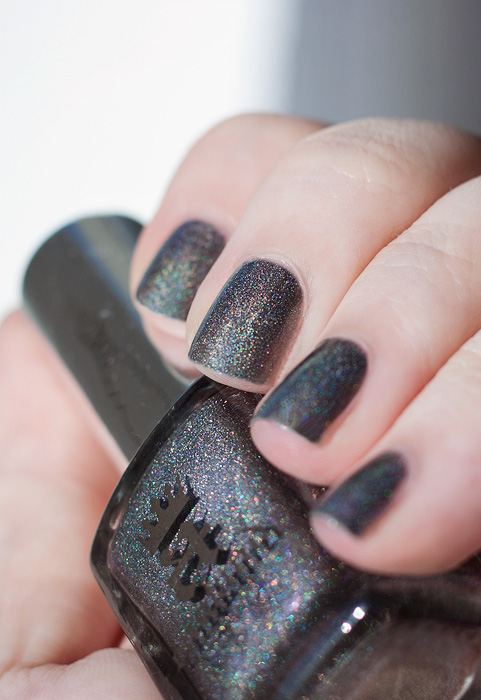
When it comes to my current beauty routine, I’m sorry to admit that painting my nails is about as intense as it gets. I’m still struggling to find “me” underneath all this baby stuff, not that I mind… it’s just that everything else seems so much more… not important per se, but… urgent, at least. I was able to put aside some beauty and blogging time when Leila was born. Back then, I lived with Mum and Dad, and Paul wasn’t on a constant deadline… plus, I guess I didn’t have another kid to invest my time laughing with. It’s been an odd few months… simultaneously both easier and tougher than the first time around.
Anyway… back to the pretty polish. I’ll save my blatherings, perhaps for another day.
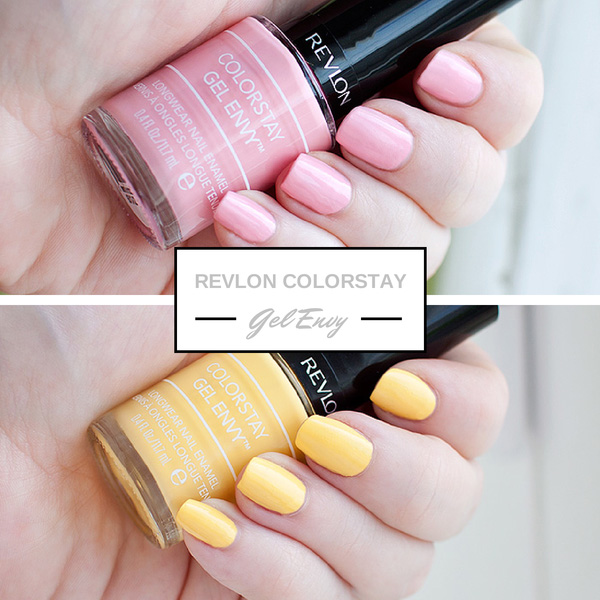
Revlon have recently released a range of gel-effect nail polishes into the UK market. The shade selection is huge, 30 colours in total alongside a diamond top coat. There’s a lot of these gel-effect polishes around, jumping on the buzz-word bandwagon, but what do they actually offer above and beyond a normal nail polish?
Well, in this case Revlon promises: brilliant colour, gel-shine and long lasting wear. But does it deliver?
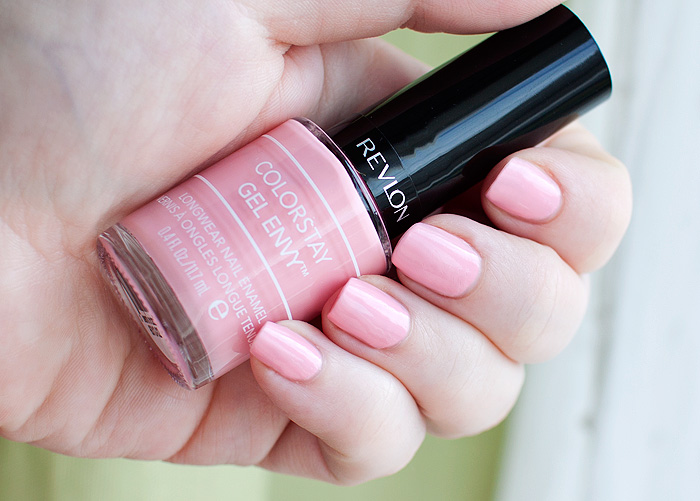
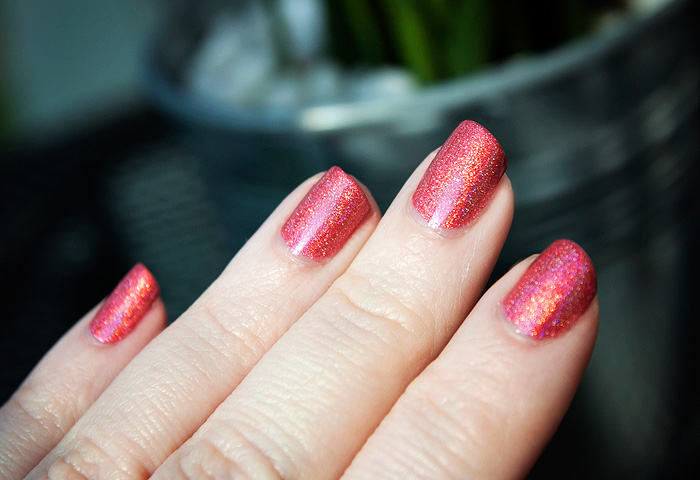
Revlon Colorstay Gel Envy – #100 Cardshark
The formula, in my opinion, isn’t the easiest to work with. It’s fairly thin but well-pigmented and has a tendency to pool at the edges if you overload the brush. Working with thin layers is your best bet, even at the expense of having to apply another coat to achieve an opaque finish.
Having said that, the formula isn’t without merit because it self-levels as it dries, ensuring a neater overall look. This makes it especially kind to those of us with ridges, flakes, and any other imperfections that may show through a freshly-painted nail. The finish is lovely, intensely shiny and smooth… in terms of how it looks, there’s no need to add any kind of top-coat.

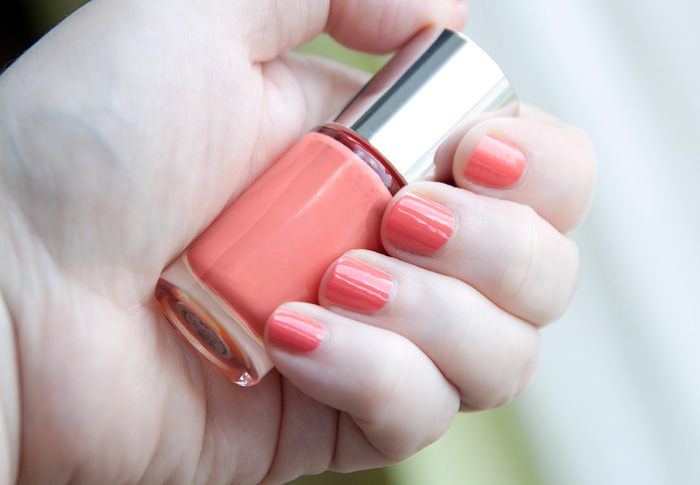
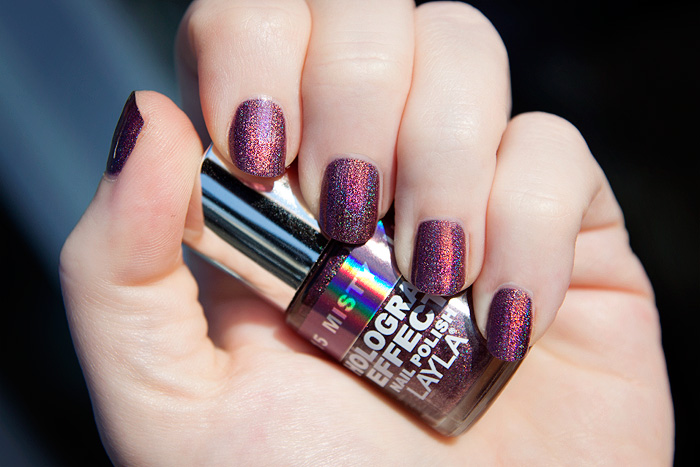
Revlon Colorstay Gel Envy – #210 Casino Lights
I’ve already mentioned the rich pigmentation delivered by the Revlon Colorstay Gel Envy range and nowhere was this more apparent than in #210 Casino Lights, a lemon yellow that dispenses with the classic yellow-polish-streakiness completely on the third coat. Yellows are notoriously hard to work with, and this one was easier than most.
As for wear, I can’t comment on how it fares with the addition of the Revlon Diamond Top Coat… but worn naked, they did well. I reached day 5 with minimal tip wear and no chipping.
Have you tried these yet?
The Revlon Colorstay Gel Envy range is priced at £6.99 a-piece, available insore and online at Boots.com
* press sample
if you liked this post, please don’t forget to check out my subscriber options, here


