
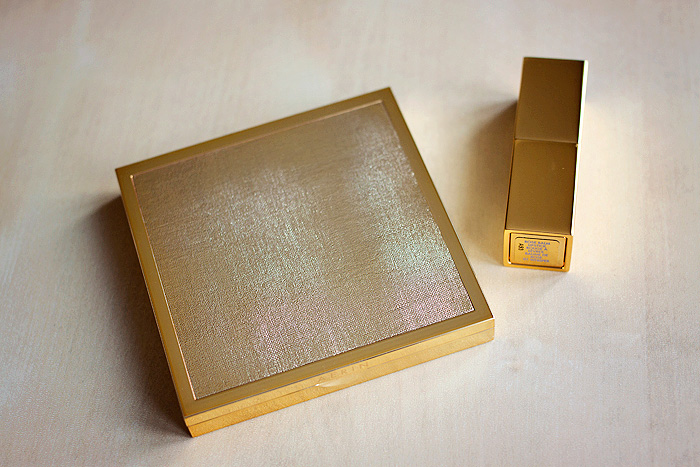
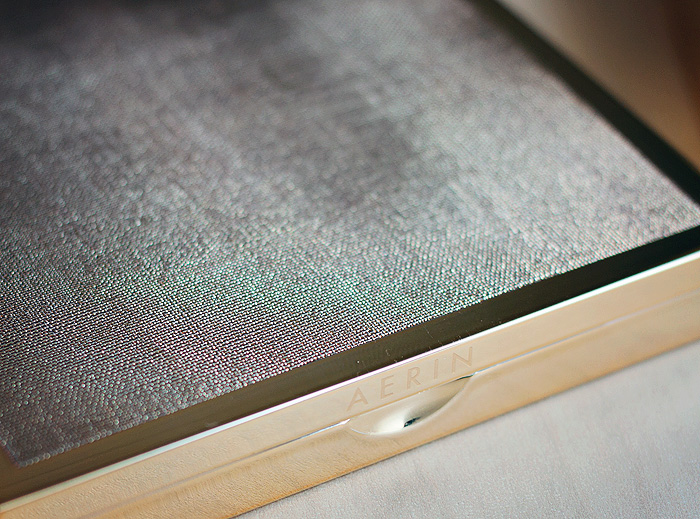
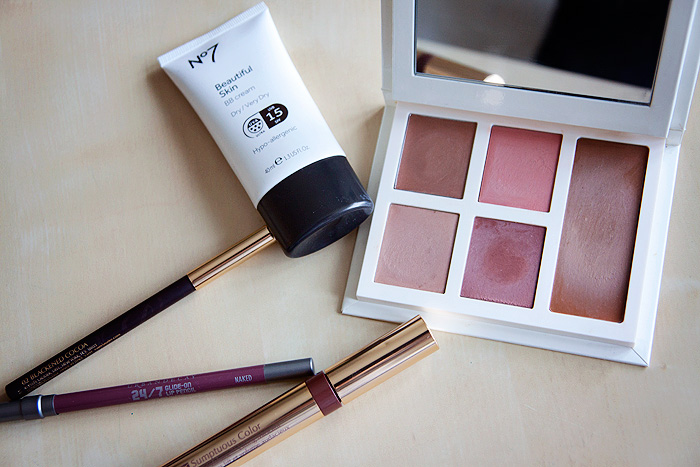
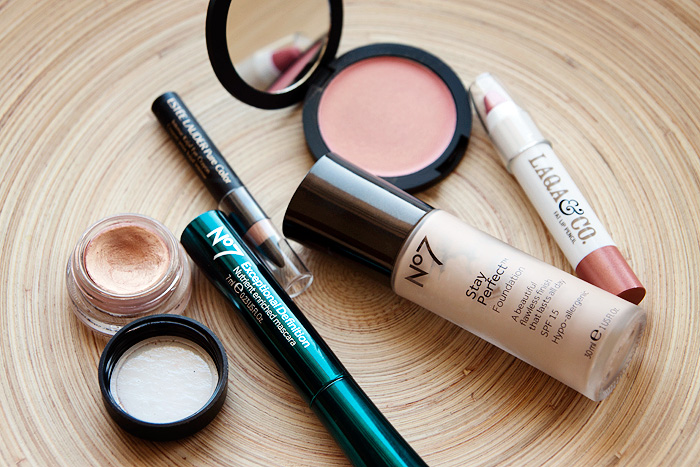
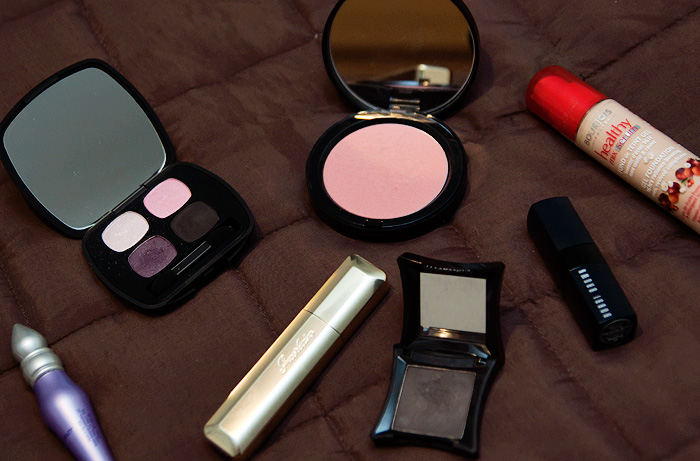
New from Aerin Beauty this season is their Essentials Collection*, primarily featuring a weighty compact filled with a kaleidoscope of colour.
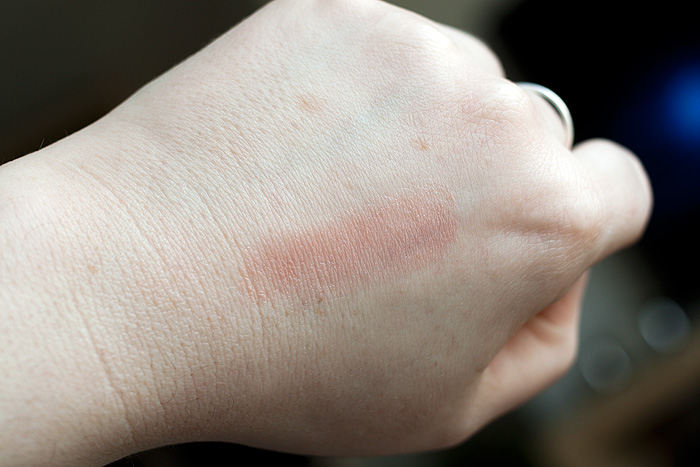
The Kaleidolight Palette (£40) is essentially a Spring bronzer, offering the kind of skin boost and colour-correction that delivers on Spring’s more subtle promises. This is the Spring bronzer for those of us who tend to shy away from bronzing, it adds a boost where Winter has stripped the skin of its luster, an inbetween complexion solution for these tricky months ahead.
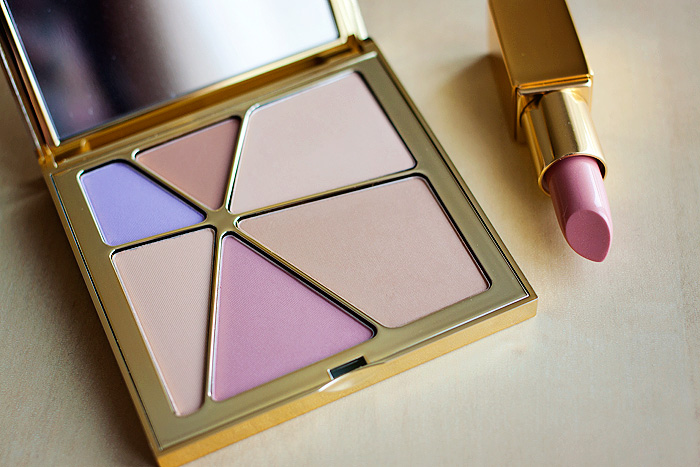
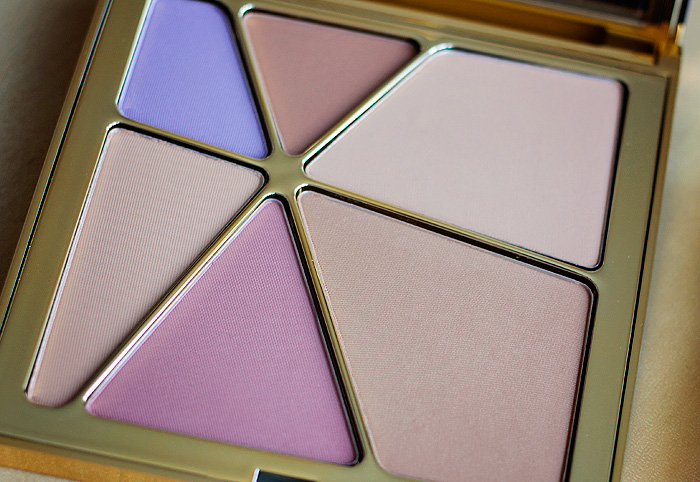
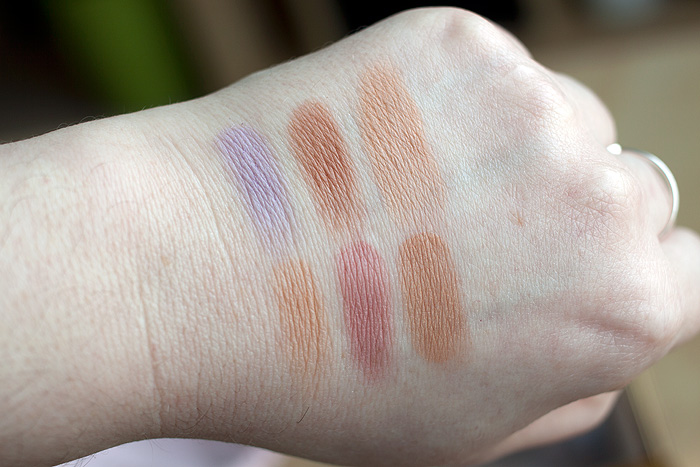
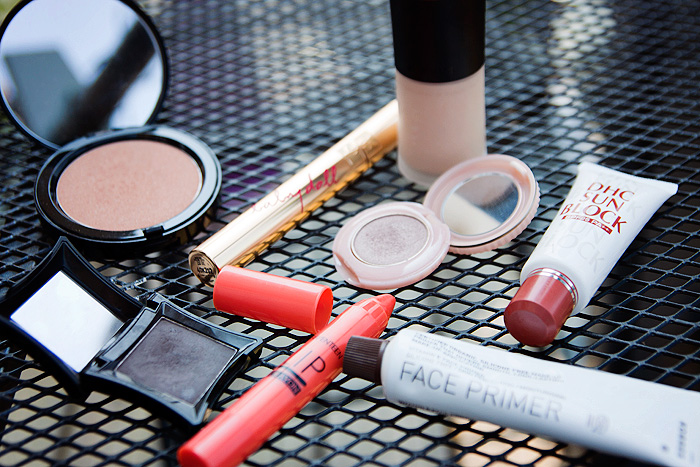
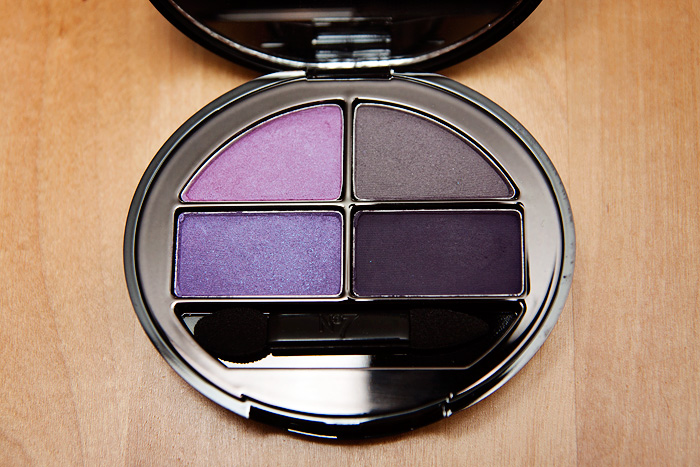
At first glance, the six shades housed within the impressive gilt exterior lean toward the cooler side of the spectrum… I think the inclusion of a skintone-correcting lilac skews my overall impression, as this is definitely a warm-toned bronzer once all shades are swirled together and applied. It is best suited to those with fair to medium skintones, overall a buildable formula that applies smoothly and blends beautifully on the skin.
If you prefer, you can… of course, use each shade independently. The palette is generously-sized and the pans aren’t crowded together, allowing for decent pickup with a smaller-sized blusher brush. If you were to use the palette more precisely in this manner, you have everything included from colour-correction to contour to blush.
I’ve swatched each shade below, as they apply straight out of the palette… you can see that pigmentation-wise, you’re getting a fair amount of colour payoff with only a couple of swipes from each pan. The bronzing shades complement each other well and I’ve been using a duo-fibre brush to apply to my cheeks, ensuring a lighter hand. Overall, the palette delivers mostly colour and warmth with a subtle radiance.
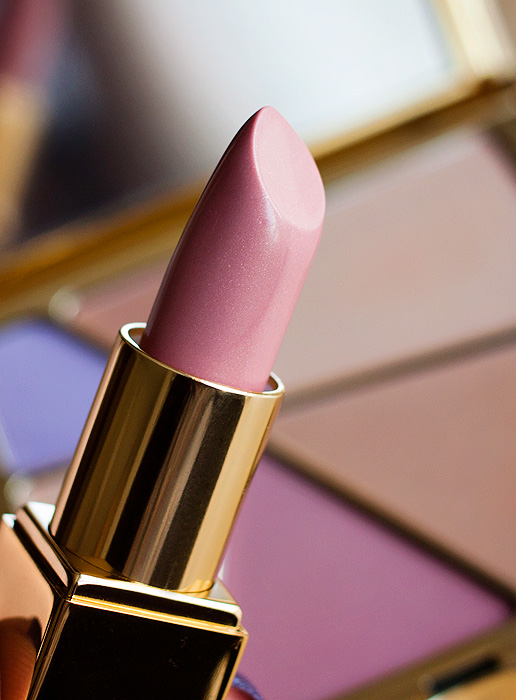
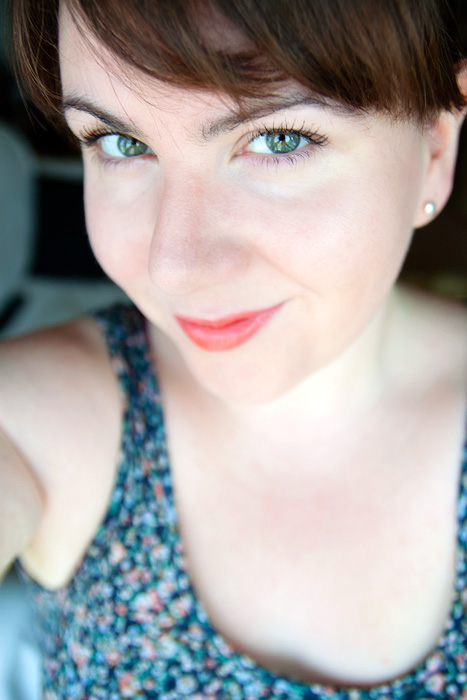
The Rose Balm Lipstick in Whisper (£25) is another new addition to the line, promising a balm-like texture with medium coverage colour. Whisper is an ultra-pale pink with the slightest hint of shimmer, more noticeable in the bullet than on the lips. I’m not a fan of the texture, which feels somehow heavier than it should and a little “claggy” over the drier areas of the lip.
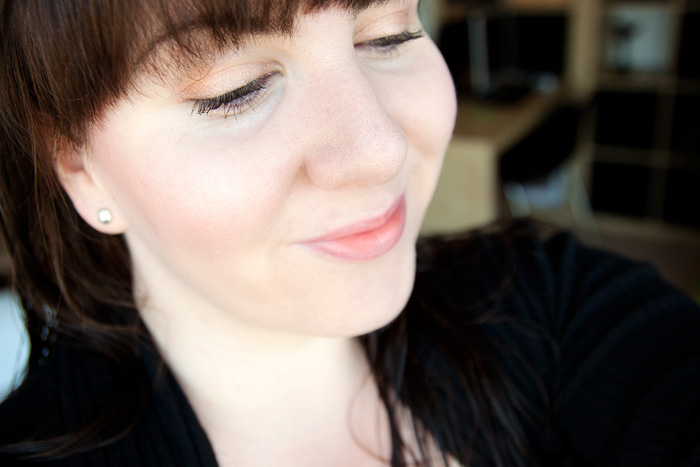
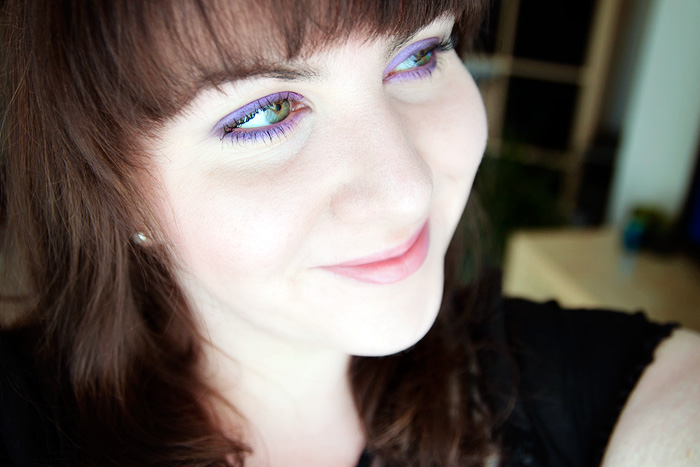
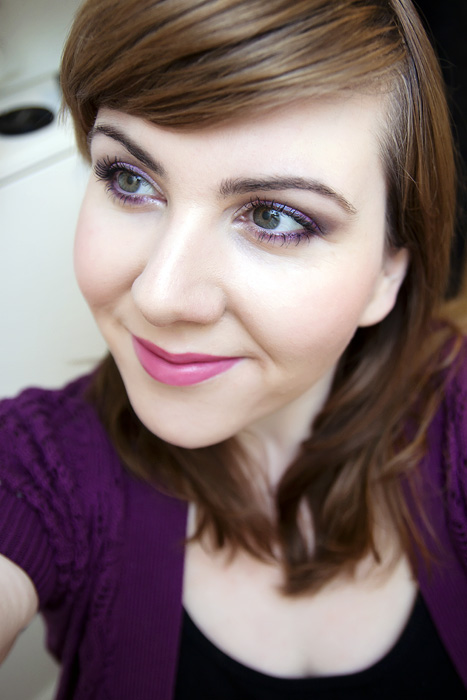
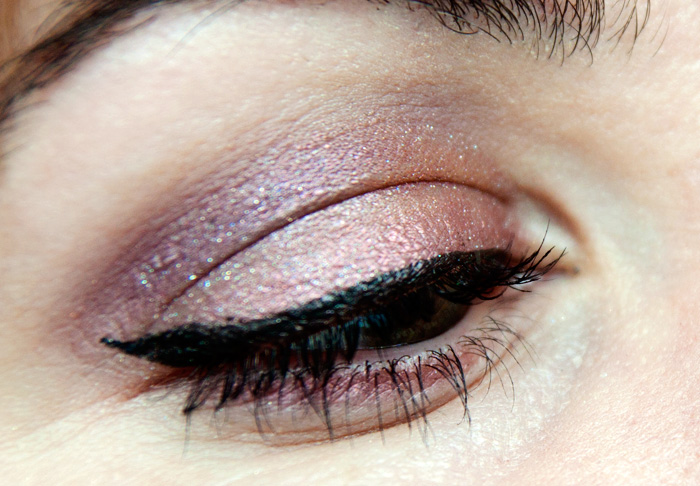
I’ve included a FOTD below which displays the products worn (please excuse my badger grey streak in my fringe!), I’ve limited use of the palette to the cheeks so that you can visualise the bronzing effect of the shades when swirled together.


The Aerin Essentials Collection is available to buy online now from esteelauder.co.uk and harrods.com
* press samples
if you liked this post, please don’t forget to check out my subscriber options, here


